
In this collection, you’ll find 30 Halloween pumpkin carving ideas for different skill levels and decorating styles.
Whether you’re planning a family carving night or want something eye-catching for your front porch, there’s an idea here worth trying.
You’ll also find practical tips for choosing the right pumpkin, transferring your design, carving safely, and keeping your finished creation looking its best.
Before you start, pick a design that fits your pumpkin’s shape and your experience level. A clear, simple pattern is often easier to carve and easier to recognize from the sidewalk than one filled with tiny details.
How to Choose the Right Pumpkin Carving Ideas
Before choosing a design, consider how much time you have, how comfortable you are with carving tools, and where you plan to display the finished pumpkin.
Choose a design that fits your skill level
If this is your first pumpkin, start with large eyes, a simple mouth, or a design made from circles and broad curves. These shapes are easier to mark and leave fewer narrow sections that might break.
If you have carved pumpkins before, try a silhouette, a pattern of different-sized holes, or a design that combines shallow scraping with cut-through sections.
Pick a pumpkin that suits your design
- Round pumpkins: Best for faces, emoji expressions, and simple geometric patterns.
- Tall pumpkins: Useful for ghosts, cats, witches, and vertical designs.
- Wide pumpkins: Give you room for haunted houses, landscapes, and large smiles.
- Small pumpkins: Work well for simple expressions and coordinated pumpkin displays.
Choose a pumpkin that sits firmly on a flat surface. Look for firm skin without soft spots, deep bruises, or signs of decay.
Decide how you want the pumpkin to glow
A cut-through design allows light to shine through the openings. Etching removes only part of the outer skin, allowing light to pass through the thinner flesh. A combination of both techniques can create more depth.
30 Halloween Pumpkin Carving Ideas Are Listed Below
Table of Contents: Halloween Pumpkin Carving Ideas
Easy Pumpkin Carving Ideas for Beginners
You don’t need complicated patterns to create a pumpkin that looks great after dark. These beginner-friendly designs use familiar shapes and simple cuts, making them a good starting point for your first carving project.
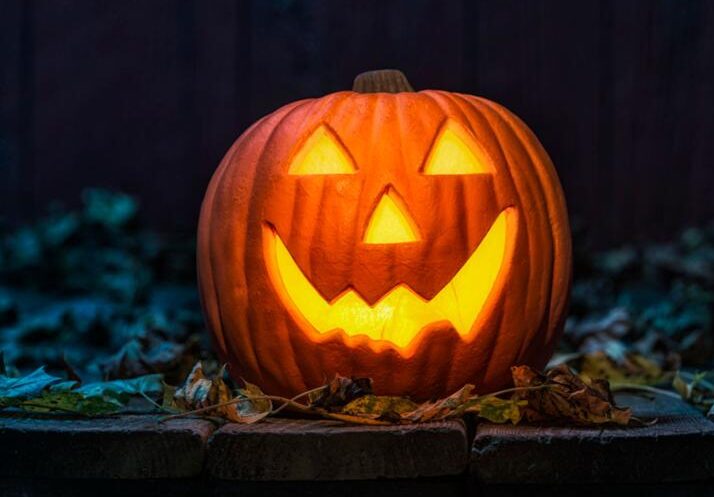
1. Classic Jack-o’-Lantern Grin
Sometimes, the traditional look is all you need. Two triangle eyes and a wide, crooked smile instantly give a pumpkin that familiar Halloween feel.
How to make it:
- Draw two large triangle eyes on the front of your pumpkin.
- Sketch a wide mouth with a few chunky teeth.
- Carefully cut out the marked sections, leaving the teeth connected to the surrounding rind.
- Place a battery-operated light inside to bring the face to life.
Keep the teeth broad rather than long and pointy. Wider sections are sturdier and less likely to break while you’re carving.
2. Moon and Stars
A crescent moon surrounded by stars gives your pumpkin a softer, more decorative look than a traditional jack-o’-lantern. It’s a lovely choice for a front porch, an entryway, or a fall display.

Draw one large crescent on the pumpkin and add a few stars around it. Make the star shapes big enough to cut without leaving thin, fragile points.
Want an easier version? Carve just the crescent and add small round holes for the stars. The finished pumpkin will still look charming when illuminated.
3. Friendly Ghost
A friendly ghost is a great alternative to a scary Halloween face. Its rounded head, simple eyes, and wavy bottom make it recognizable without needing many tiny cuts.

Sketch the ghost as one broad silhouette, then cut along the outline. Add the eyes as separate openings if you’d like.
Avoid making the ghost’s arms or lower curves too thin. Wider shapes are easier to carve and less likely to snap.
For a coordinated porch display, place your ghost beside a classic jack-o’-lantern and a moon-themed pumpkin.
4. Wide Smiling Pumpkin
If you prefer cheerful Halloween decorations, make the smile the star of the show. Add rounded eyes, curved cheeks, and two or three chunky teeth for a friendly expression.
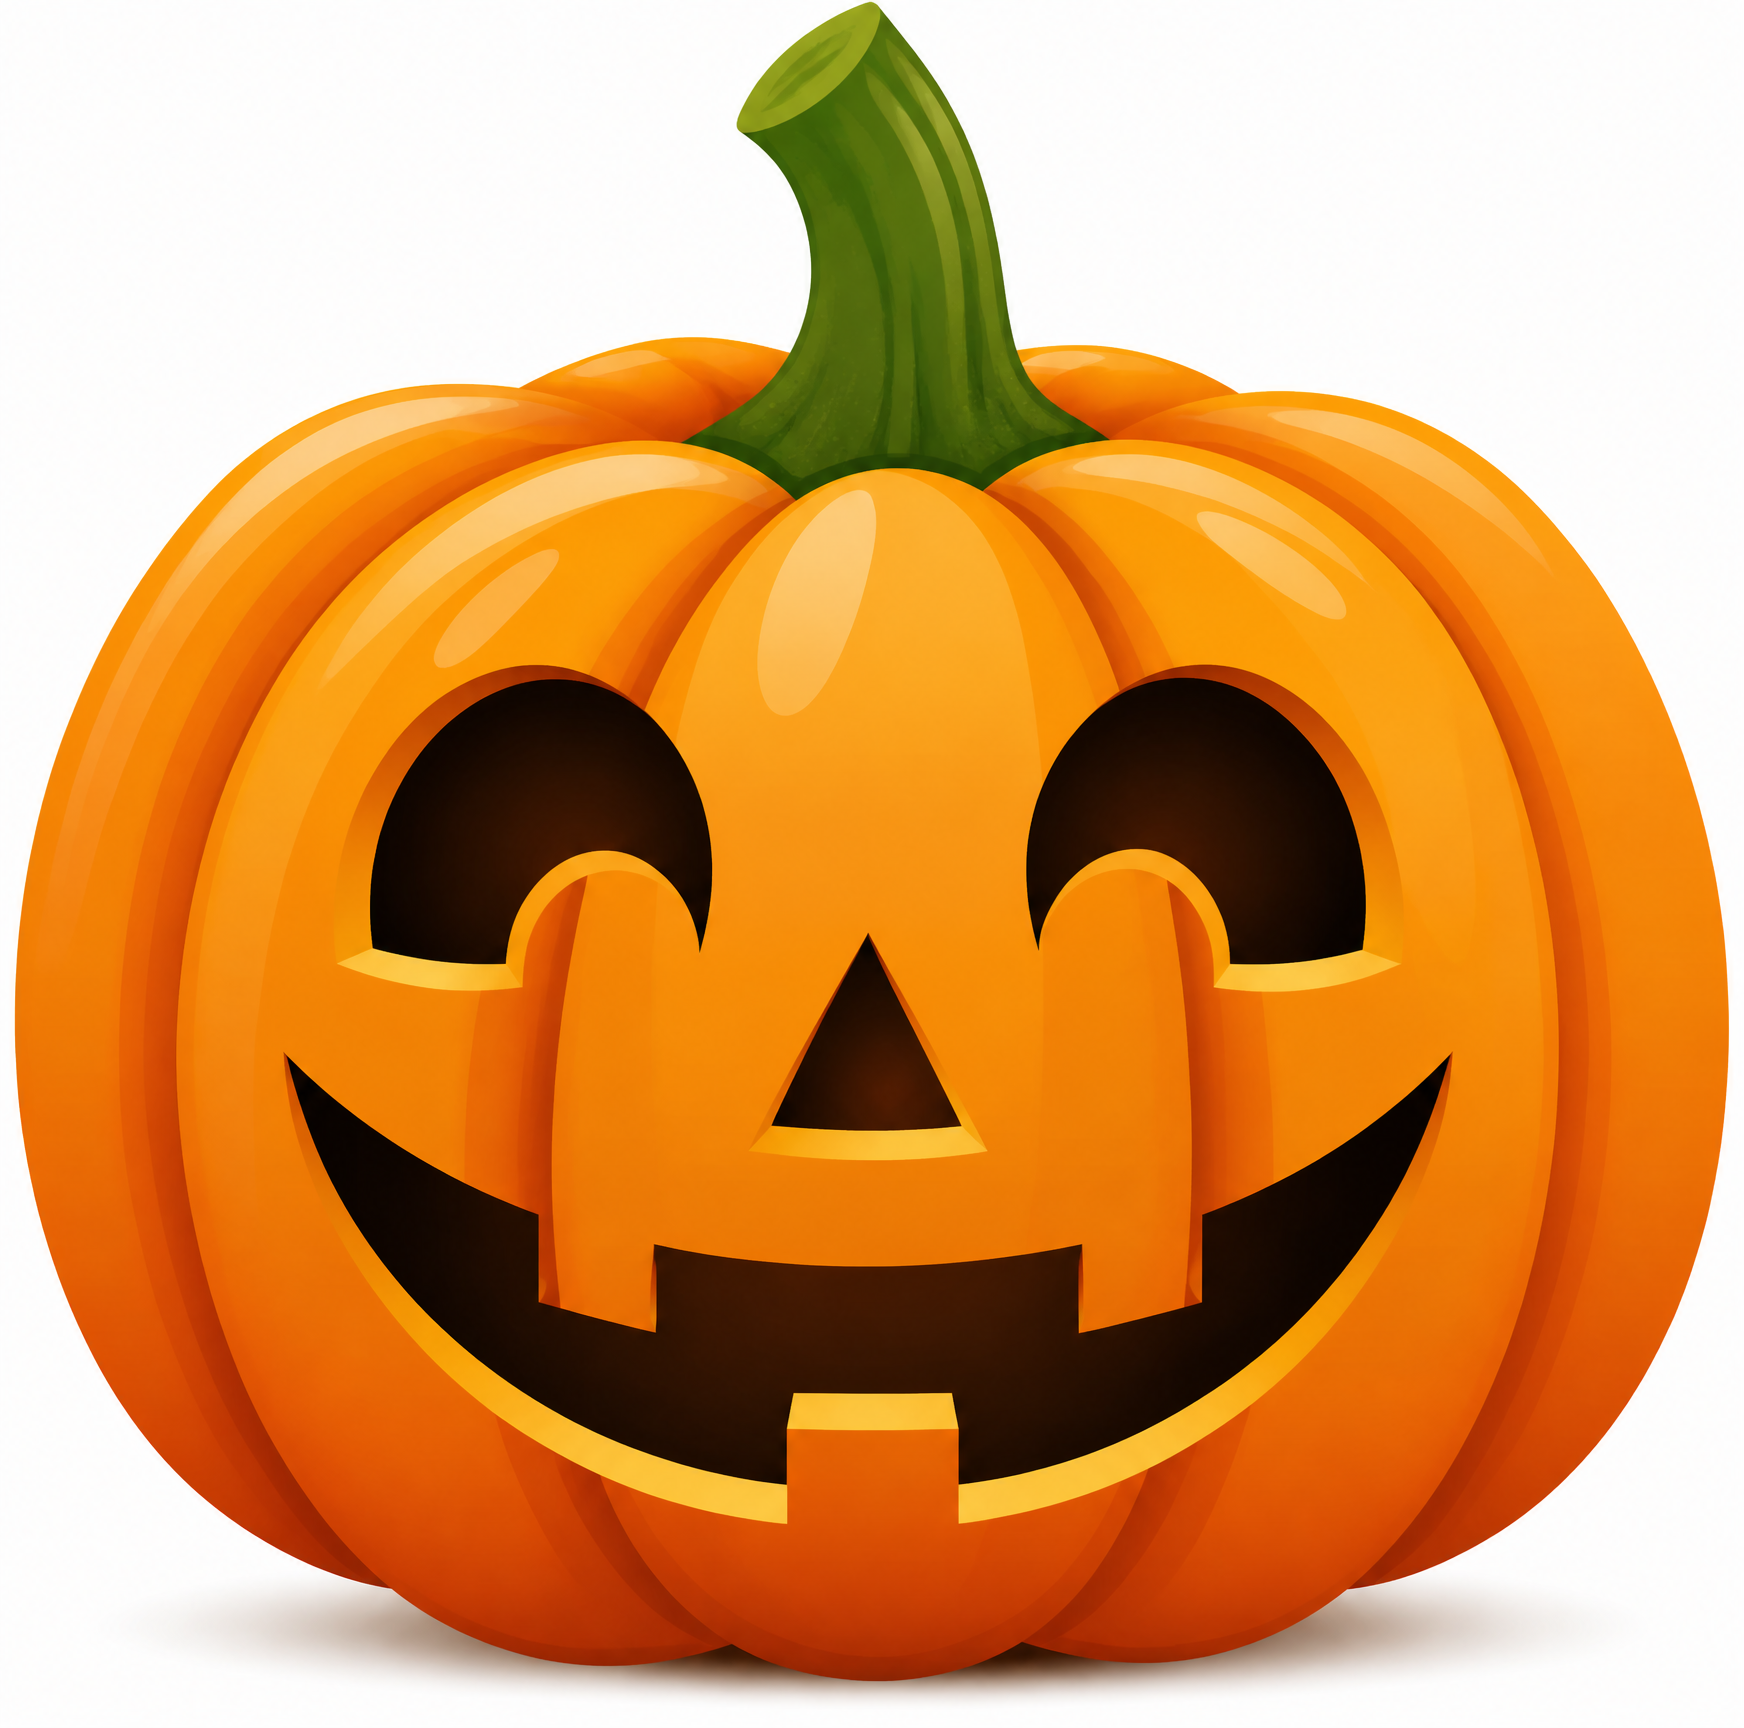
Draw the mouth across the lower half of the pumpkin, leaving enough room between it and the eyes. This helps the face look balanced instead of crowded.
You can easily give your pumpkin its own personality by tilting one eye, raising an eyebrow, or making one cheek slightly larger. Sometimes, a small change makes the biggest difference.
Cute Pumpkin Carving Ideas
Cute pumpkin carving designs are all about simple shapes and expressions that make people smile. Oversized eyes, tiny noses, and gentle curves work especially well, whether you’re decorating with kids or putting together a playful fall display.
5. Cute Cat Face
A cat face is a charming option for anyone who likes Halloween decorations without an overly scary look.

Draw two almond-shaped eyes, a small triangular nose, and a simple mouth. Add short whisker lines if there is enough space, but do not make them too narrow.
For extra character, place two sturdy paper or felt ears above the pumpkin instead of carving tall, thin ear shapes into the rind.
6. Sleepy Pumpkin
Not every Halloween pumpkin needs to look excited or frightened. A sleepy expression creates a softer, almost cozy look that’s especially cute when several pumpkins are displayed together.

Draw two gently curved lines for closed eyes, then add a tiny nose and a small smile. Keep the lines broad and skip overly detailed eyelashes.
This idea works particularly well for a little pumpkin family. Give one pumpkin sleepy eyes, another a happy smile, and a third a surprised expression.
7. Heart-Eyes Pumpkin
Replace traditional eyes with two hearts to create a playful design. Keep the hearts large and simple, and place them at equal heights for a balanced face.
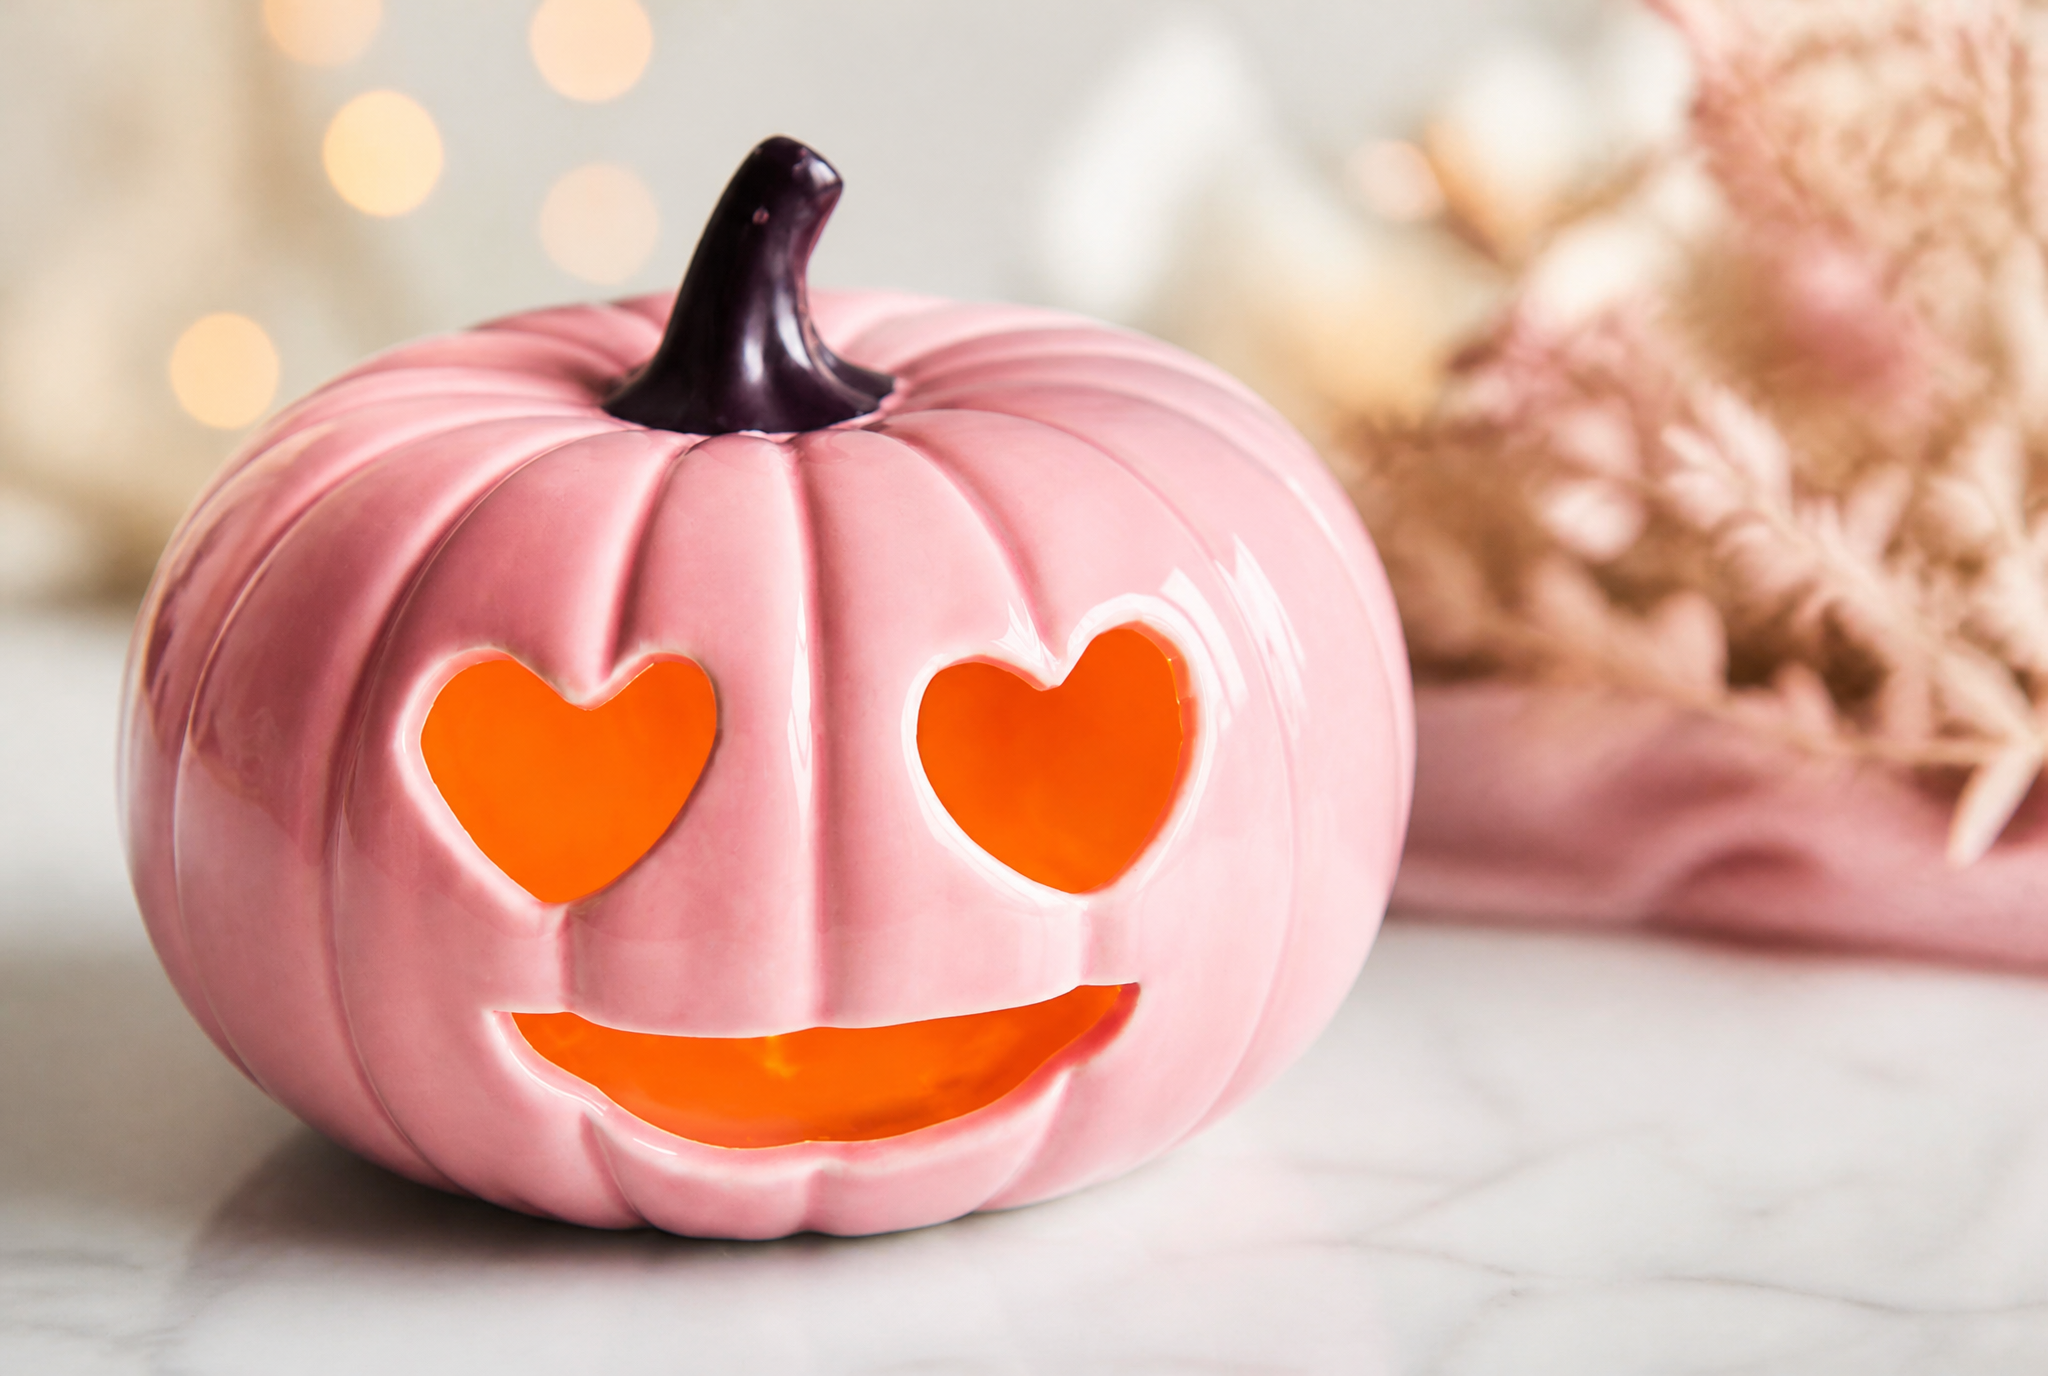
Draw two large hearts at the same height and leave enough space between them. Broad shapes are easier to carve than tiny hearts with narrow points.
Finish with a curved smile or a row of chunky teeth. If you’re worried about cutting the heart shapes cleanly, carve the mouth and draw the eyes with a marker instead.
8. Wide-Eyed Owl
An owl pumpkin is a fun choice if you’re looking for something a little different from the usual Halloween faces. Two oversized eyes and a small beak create the main features.
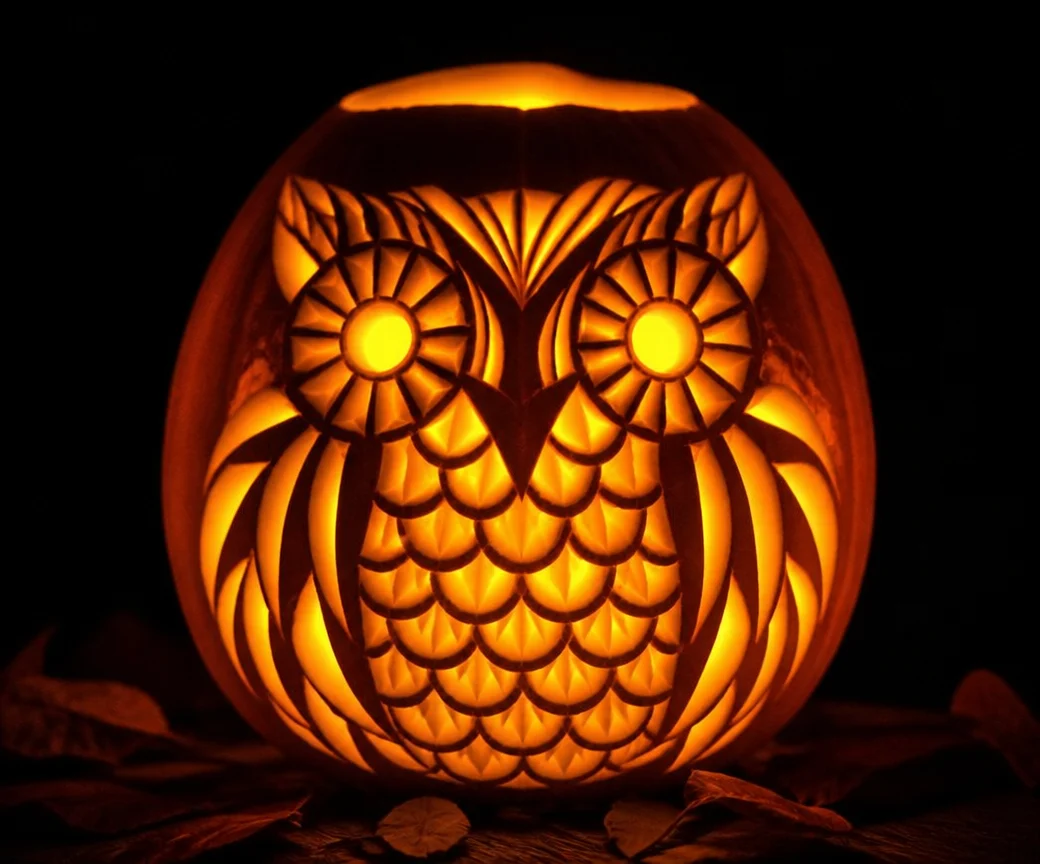
Draw the eye circles first, then add a triangular beak between them. If you want to suggest feathers, use a few shallow decorative lines instead of cutting dozens of tiny openings.
Leave most of the pumpkin’s surface untouched. This keeps the eyes and beak as the main focus and makes the design easier to carve.
9. Smiling Flower Pumpkin
Bring a cheerful, garden-inspired touch to your Halloween display with a flower-shaped pumpkin.
A smiling face surrounded by rounded petals creates a playful decoration that works well throughout the fall season.
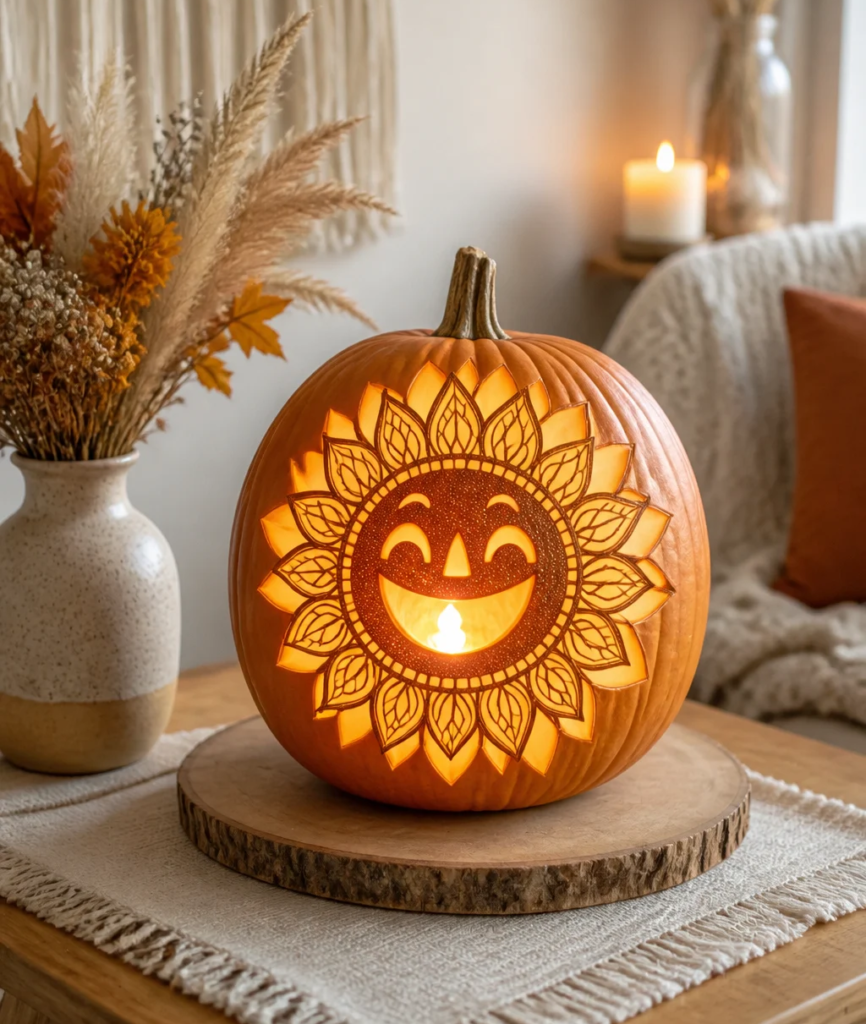
Start by drawing a large face in the center, then sketch broad petals around it. Keep the petals thick enough that the remaining rind doesn’t become too fragile.
For an even easier version, carve only the face and draw or paint the petals on the outside of the pumpkin.
Funny Pumpkin Carving Ideas
Sometimes, the funniest pumpkins are the ones that look a little ridiculous. Crooked smiles, mismatched eyes, and exaggerated mouths can create plenty of personality without requiring an elaborate design.
10. Goofy Crooked Grin
Give your pumpkin a smile that tilts upward on one side and droops on the other. Add eyes of different sizes to make the expression even sillier.

Draw the face slightly off-center instead of trying to make everything symmetrical. Use a wide mouth with a few chunky teeth, keeping the cuts broad and simple.
This is a forgiving design because the uneven features are part of the fun. If your lines aren’t perfect, your pumpkin may look even better.
11. Silly Tongue-Out Pumpkin
A tongue-out pumpkin is perfect for anyone who prefers funny Halloween decorations over frightening ones. The idea is simple: create a wide mouth with a visible tongue sticking out.
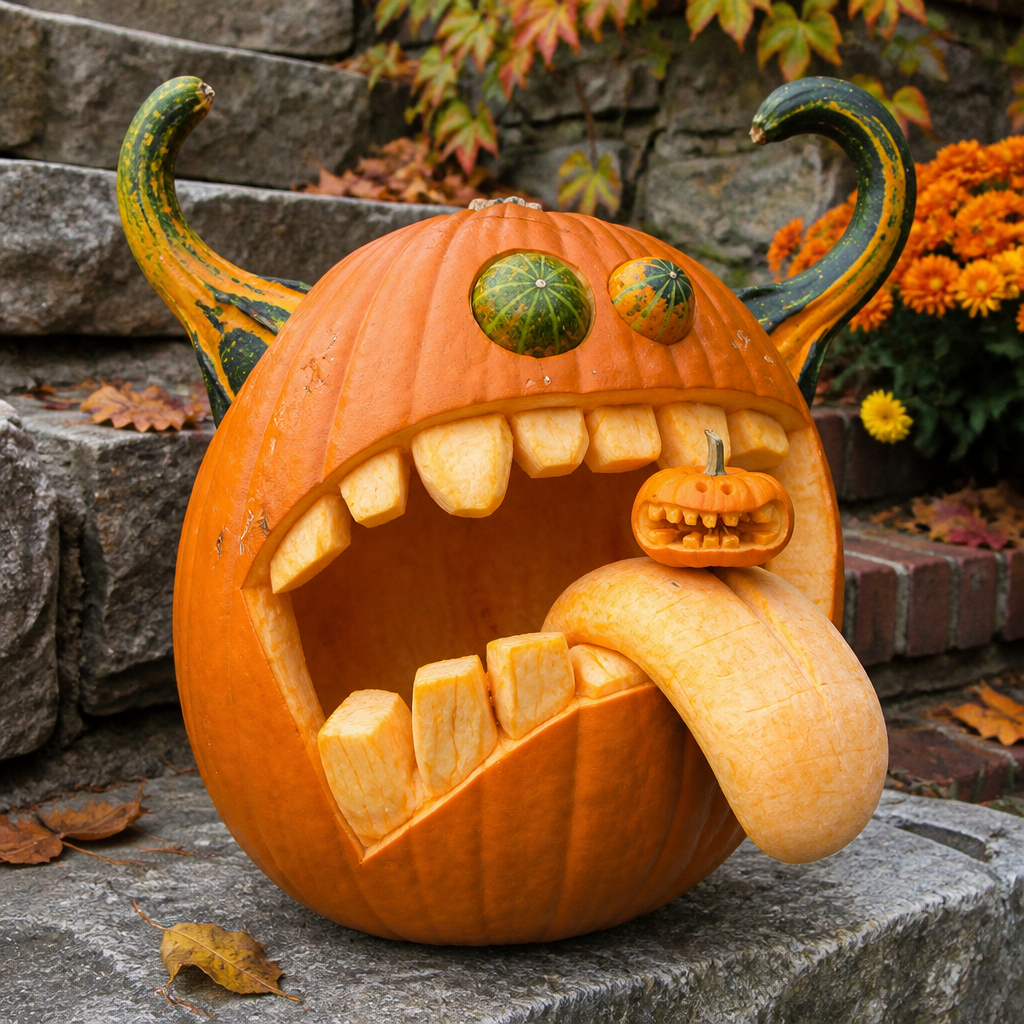
Draw a broad mouth and plan a thick tongue shape in the center or lower section. Make sure the surrounding rind remains sturdy.
You can also use a separate piece of pumpkin rind as a tongue-shaped prop, provided it’s securely positioned and safe for your display.
Keep the tongue simple. One clear shape is easier to recognize than a design filled with tiny details.
12. Lopsided Monster Face
Have a pumpkin that’s naturally crooked or uneven? Instead of working around its imperfections, use them to create a silly monster.

Give it one large eye, one smaller eye, and a crooked mouth filled with chunky teeth. A raised bump might become an eyebrow, while a tilted surface can make the expression look even more comical.
Let the pumpkin’s natural shape guide your design. You don’t need a perfectly round pumpkin to create a memorable Halloween decoration.
13. Shocked Emoji Face
A shocked emoji pumpkin is one of the easiest designs to create. All you need are two round eyes and a large O-shaped mouth.

Draw the mouth slightly wider than the space between the eyes, then cut out the three shapes carefully. Leave enough rind around each opening so the face stays sturdy.
Want to make a whole group? Create several emoji pumpkins with different expressions, such as surprise, laughter, confusion, and excitement.
Spooky and Scary Pumpkin Carving Ideas
If you love traditional Halloween decorations, these spooky designs can give your porch a more dramatic look. Start with recognizable silhouettes, then try more detailed scenes as your carving skills improve.
14. Witch Hat Silhouette
A witch hat is an easy way to give your pumpkin a classic Halloween theme without carving a complicated face.

Draw a broad brim and a pointed hat, keeping the tip thick enough to stay attached to the surrounding rind. Cut around the outline slowly, paying extra attention to the narrower sections.
If there’s room, add a crescent moon or a few stars nearby. For a simpler version, let the hat stand alone.
15. Bat Silhouette
A glowing bat silhouette creates a striking contrast between the pumpkin’s light and the dark shape of the design.
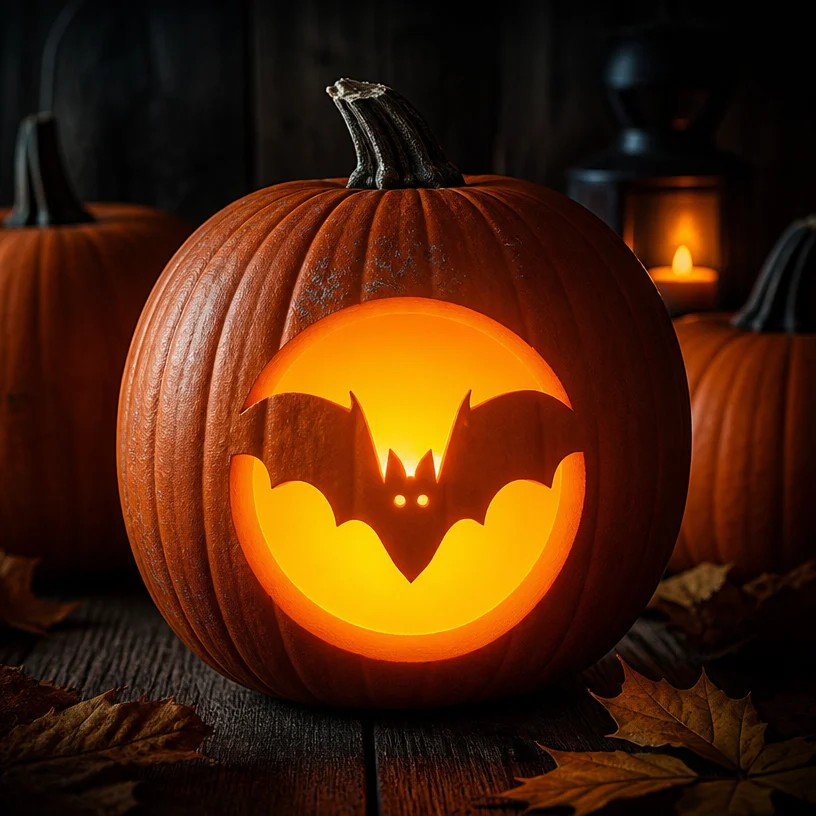
Sketch the bat’s body first, then draw broad wings with a few simple curves. Avoid narrow wing tips or thin connecting sections that could snap when you remove the cutout.
If you want more than one bat, use two or three different sizes. A few well-spaced shapes often look better than lots of tiny silhouettes crowded together.
16. Spider Web Pumpkin
A spider web adds a little extra detail without requiring a face or character. It’s a great choice if you enjoy patterns and don’t mind taking your time.
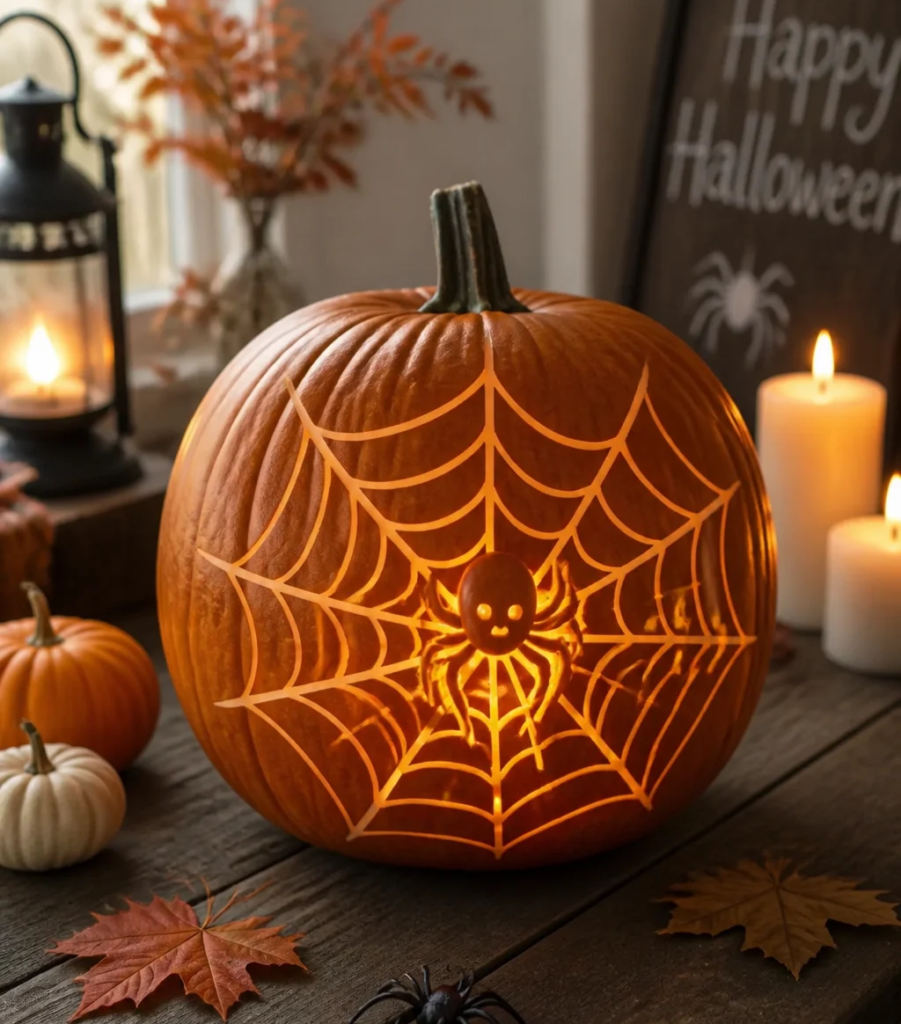
Draw a small central point with several thick lines spreading outward. Connect the lines with broad curves to create the web.
The main challenge is keeping the strips of rind between the openings wide enough to hold together. Draw the entire pattern before cutting, and remove smaller sections carefully.
For your first attempt, use fewer lines and wider spaces. You can always try a more intricate web next year.
17. Haunted House Silhouette
A haunted house can turn a pumpkin into a miniature Halloween scene. Draw a crooked roof, a main doorway, and a few square windows.

Start with a broad outline for the roof and walls. Add a large doorway and a few square windows, keeping each opening big enough to carve comfortably.
Tiny windows and narrow roof points can be difficult to manage, so don’t feel you need to include every architectural detail.
If your pumpkin has extra space, add a moon above the roof or a single flying bat. Even a simple house outline with two windows can create a spooky effect after dark.
Unique and Creative Pumpkin Carving Ideas
If you want your pumpkin to stand out, experiment with patterns, silhouettes, and combinations of carving techniques rather than adding more and more facial details.
18. Constellation Pumpkin
Bring a little night-sky inspiration to your porch with a constellation-style pumpkin. A collection of glowing dots can look delicate and decorative without requiring complicated carving.
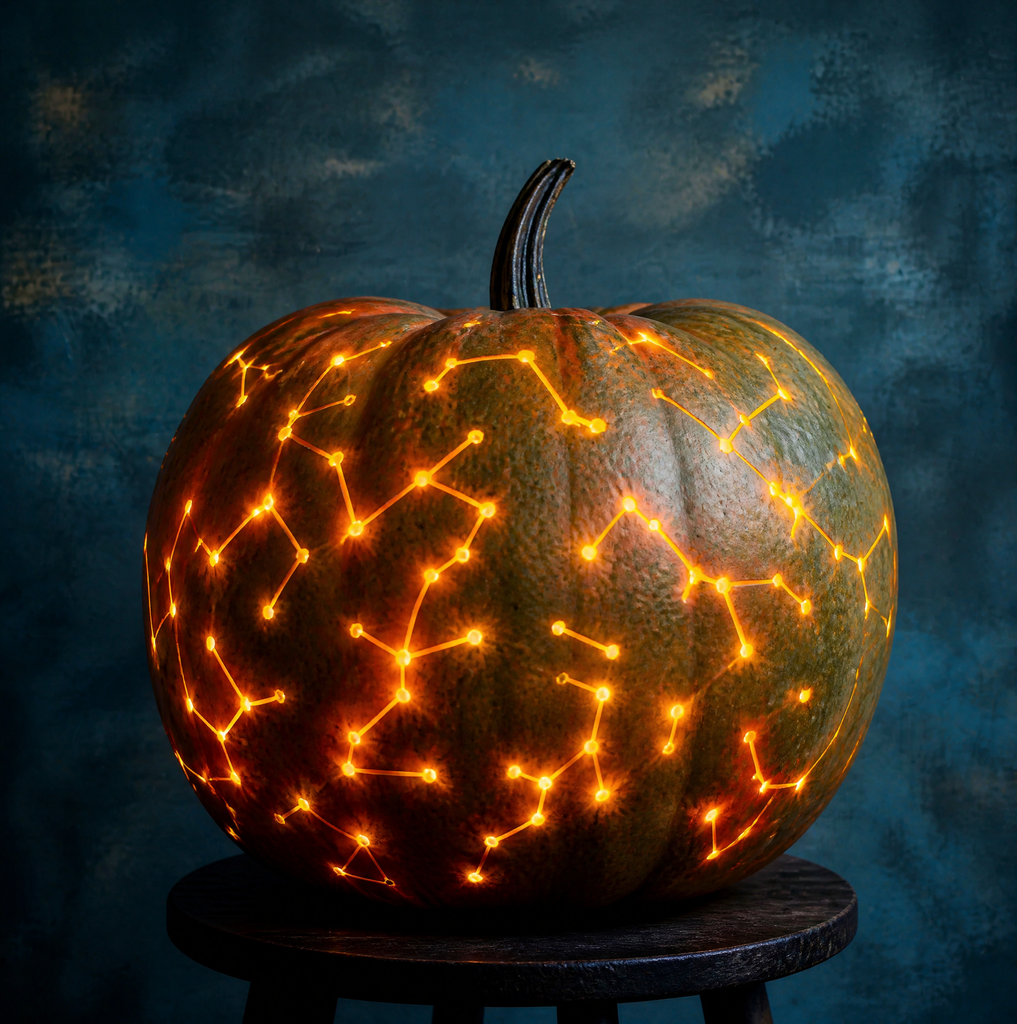
Arrange small and medium circular openings across the pumpkin. If you’d like, connect a few of the dots with shallow etched lines.
Rather than trying to reproduce a detailed star chart, create a simple arrangement inspired by the night sky. The result can look beautiful beside a moon-themed pumpkin or a few plain pumpkins in different sizes.
19. Layered Crescent Moon
Give a familiar crescent moon design more depth by combining a large cutout with smaller stars and shallow etched lines.

Sketch the entire pattern first and decide which areas you’ll cut all the way through. Keep the etched sections broad enough to be visible without removing too much of the pumpkin’s outer skin.
When illuminated, the bright openings and softer etched areas can create a layered effect that looks more intricate than a basic moon cutout.
20. Forest Silhouette
Create a miniature woodland scene with pine trees, a moon, and a simple horizon line. This design works especially well on a wide pumpkin, where the forest has room to spread across the front.

Draw trees of different heights to make the scene feel more natural. Keep the trunks and branches broad, since very thin sections can snap during carving.
You can leave the sky mostly untouched or add a few stars above the trees. A simple forest outline can look wonderfully atmospheric without requiring too many details.
21. Geometric Diamond Pattern
If you prefer modern decorations, a geometric pumpkin is a stylish alternative to traditional Halloween faces.
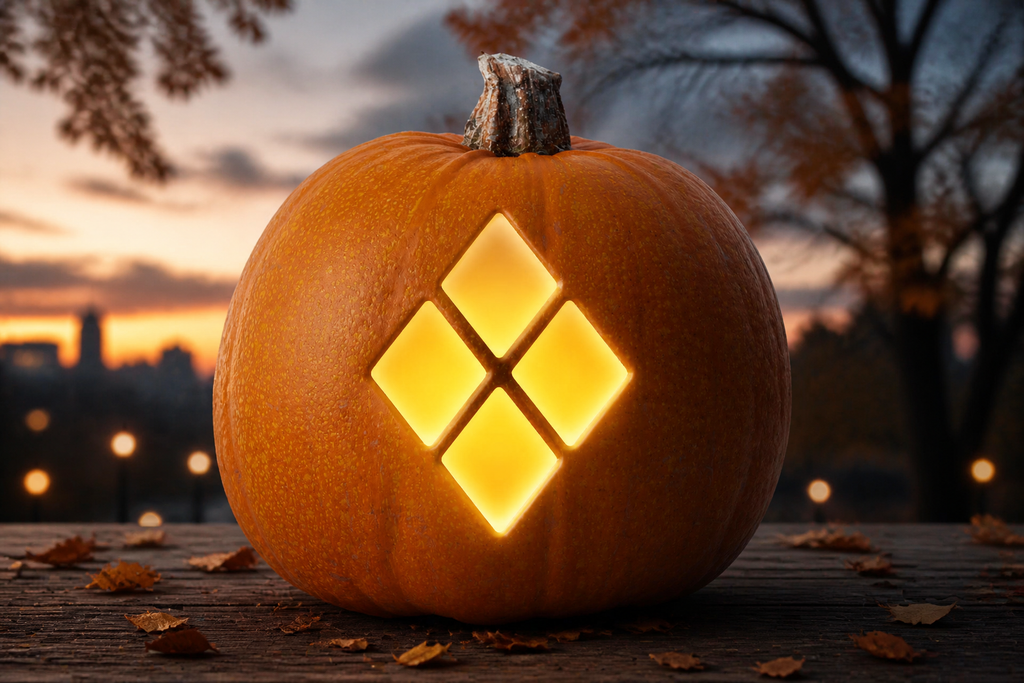
Draw a repeating pattern of diamonds, triangles, or other angular shapes across the front. Use a few larger shapes for an easier project, and keep the spacing fairly consistent.
Avoid placing the corners too close together, as narrow sections of rind can become fragile. If you prefer a more relaxed look, arrange the diamonds loosely instead of following a strict grid.
The finished pumpkin can look just as good during the day as it does when lit at night.
22. Floral Cutout Pumpkin
Flowers and leaves can create a beautiful alternative to the usual Halloween symbols. This design is especially nice if you prefer softer, nature-inspired fall decorations.

Choose broad petals and simple leaf shapes, arranging them across the front of the pumpkin. Start with one larger flower, then add smaller leaves and buds around it.
A repeated pattern often looks more balanced than lots of unrelated shapes. You can also combine a few cut-through flowers with shallow etched details for a softer glow.
23. Two-Face Pumpkin
Give your pumpkin two expressions on opposite sides. One side can feature a friendly smile, while the other has narrowed eyes and a jagged mouth.

Plan both designs before carving so the openings do not weaken the same sections of rind. Keep the patterns separate and leave a broad area of intact pumpkin between them.
This idea is particularly effective when the pumpkin can be turned during a Halloween party or porch display.
24. Floating Ghosts
Instead of carving one large ghost, create three smaller ghosts floating across the front. Use different sizes and slightly varied shapes to make them look as if they are drifting upward.

Keep each ghost silhouette simple, with rounded heads and broad lower curves. Add small eyes only if the shapes have enough room.
A large central ghost with two smaller companions is an easy way to create a balanced composition.
25. Candy Corn Pattern
Give your pumpkin a sweet Halloween twist with a candy corn-inspired pattern. Repeating triangular shapes and rounded bands create a recognizable design without requiring a complicated scene.

You can arrange the shapes across the front of the pumpkin or create a simple row around its middle.
Because the design relies on repetition, sketch the layout before carving and leave enough space between the openings.
If you’d like to include candy corn’s familiar colors, use paint for the colored sections and keep the carved shapes simple.
26. Spiral Glow Pumpkin
A spiral pattern creates movement without using a face. Draw one broad spiral from the center outward, then add a few circular openings along the line if you want extra light.

Keep the spiral wide and avoid cutting a continuous narrow strip that could weaken the rind. It is better to leave sturdy bridges between the openings.
For a clean result, use one main spiral rather than several competing lines.
27. Personalized Initial or Number
Want to make your Halloween display feel a little more personal? Carve a large initial, your house number, or another bold symbol into the pumpkin.
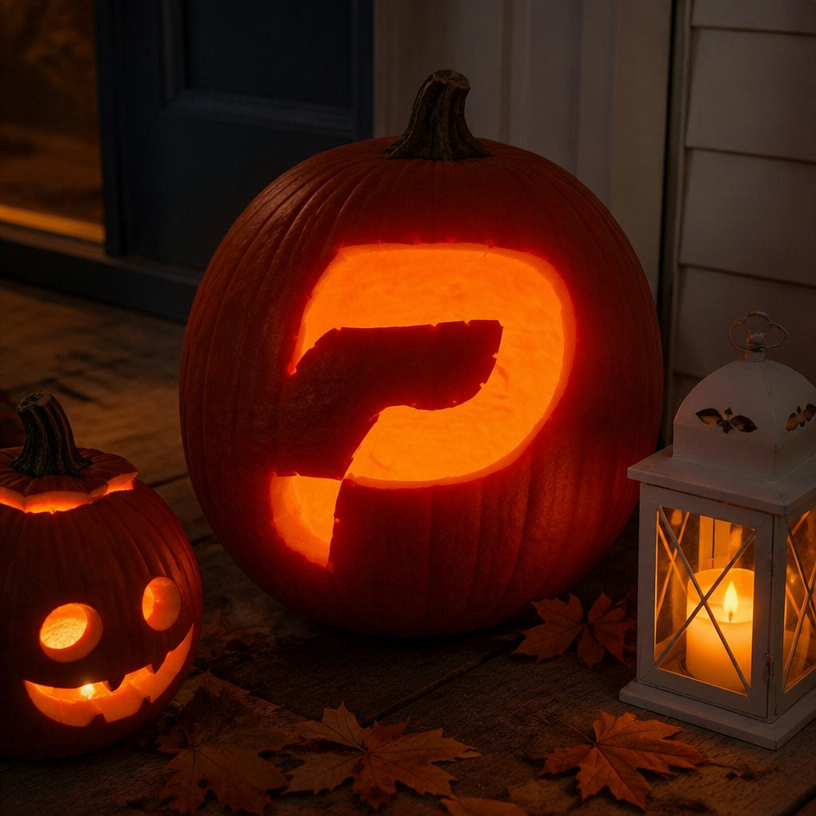
Choose a block-style letter with thick strokes instead of a thin, elaborate font. Draw it large enough to be visible from the sidewalk, and leave sturdy connections around enclosed areas such as the center of an O or A.
You can add a few small stars or a simple border if there’s room. A personalized pumpkin also makes a fun decoration for your front entrance.
28. Sharp-Toothed Monster
For a more frightening pumpkin, try angled eyes and a jagged mouth. Slant the eyebrows inward to create an angry expression, then add a few large, pointed teeth.
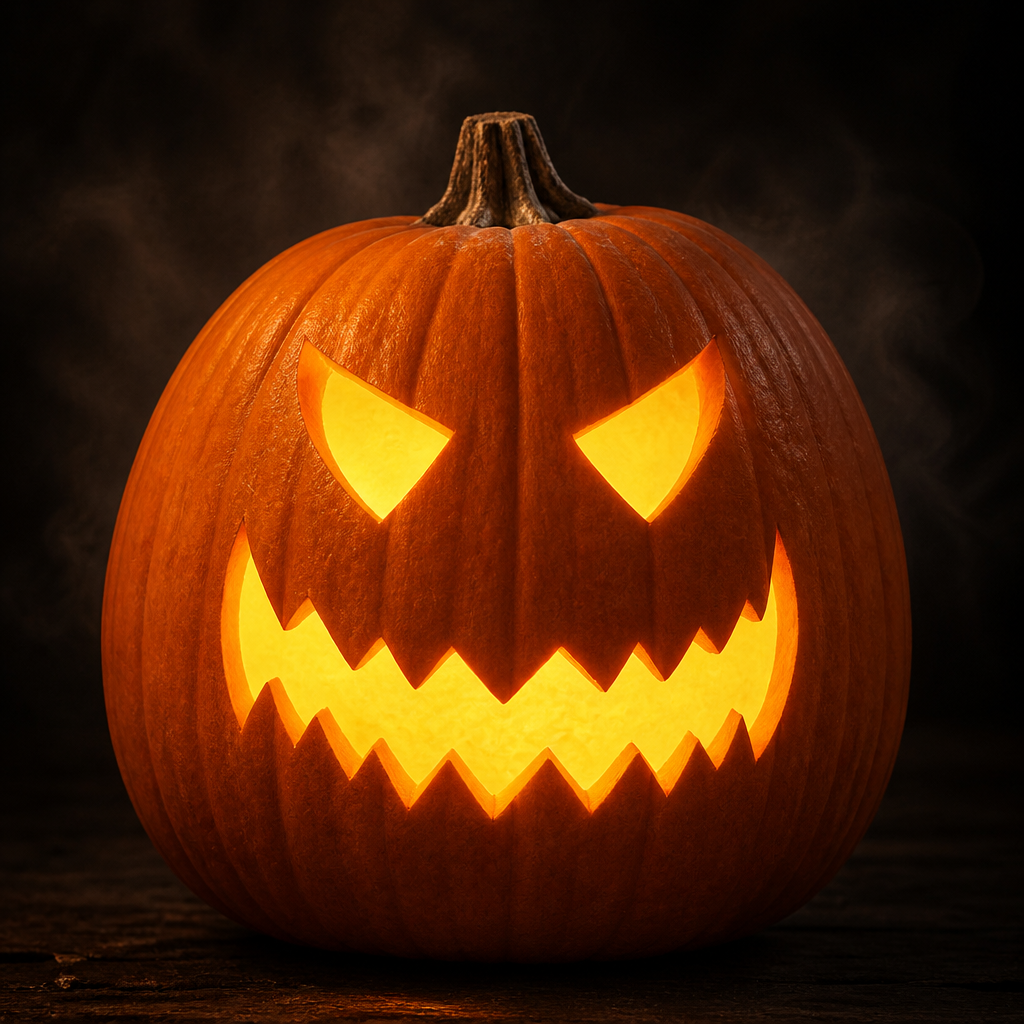
Draw the mouth as one broad opening and avoid making the teeth too thin. The remaining rind around the eyes and mouth should stay strong enough to support the design.
You don’t need dozens of sharp teeth to make the pumpkin look scary. A few well-placed angles can be more effective than an overly complicated face.
29. Pumpkin-within-a-Pumpkin
For a more theatrical decoration, create a large pumpkin with an exaggerated mouth and position a smaller pumpkin inside or directly in front of the opening.
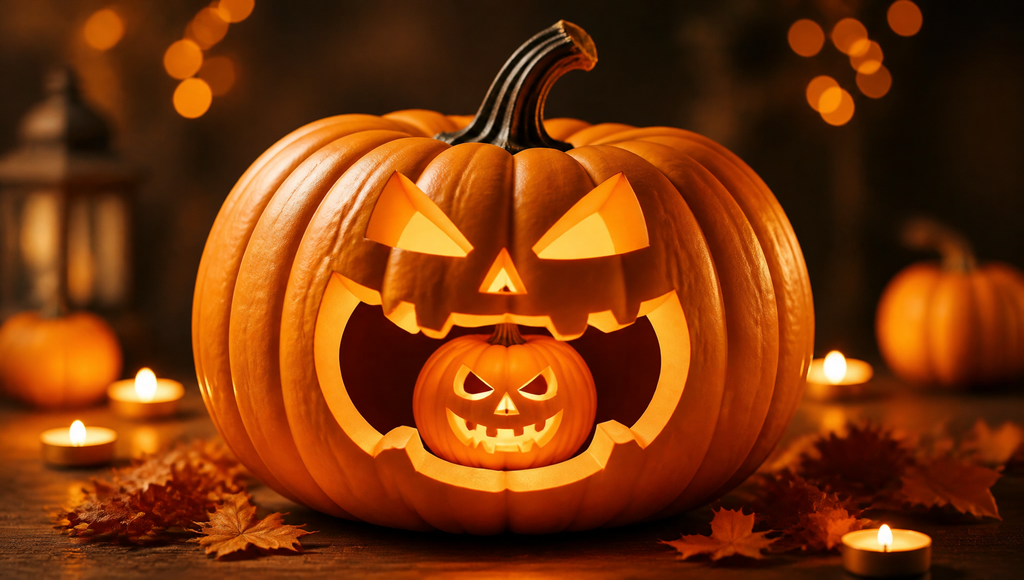
This project needs more planning than a regular face. The large opening must be positioned carefully, and the smaller pumpkin needs a stable resting place.
You do not need to carve both pumpkins in detail. A simple face on the smaller pumpkin can provide enough contrast.
30. Dotted Glow Pattern
Who says a pumpkin needs a face? A trail of glowing dots can look just as striking, especially when the light shines through openings of different sizes.

Mark circles across the pumpkin, varying their sizes to create a flowing pattern. You could arrange them in a spiral, a wave, or a cluster that wraps around one side.
Leave enough space between the holes so the remaining rind stays strong. For a simple but eye-catching result, let the dots do all the work.
How to Carve a Pumpkin Successfully
Even a simple design can become tricky if the pumpkin wobbles or the lines are too thin. Preparing your workspace and gathering the right supplies can make carving easier and safer.
Gather your supplies
Before getting started, collect everything you need:
- A firm pumpkin with a stable base
- A washable marker or suitable pattern-transfer materials
- A pumpkin-carving saw designed for the task
- A sturdy scoop or large spoon for removing pulp
- Paper and tape if you’re using a template
- A battery-operated pumpkin light
Avoid using a large kitchen knife as a substitute for a purpose-made pumpkin-carving tool. Adults should handle all cutting, while children can help draw patterns, scoop pulp with supervision, and choose decorations.
Also Read: 10 Greenery Bedroom Ideas for a Fresh, Cozy Space
Follow these five carving steps
Step 1: Prepare the pumpkin
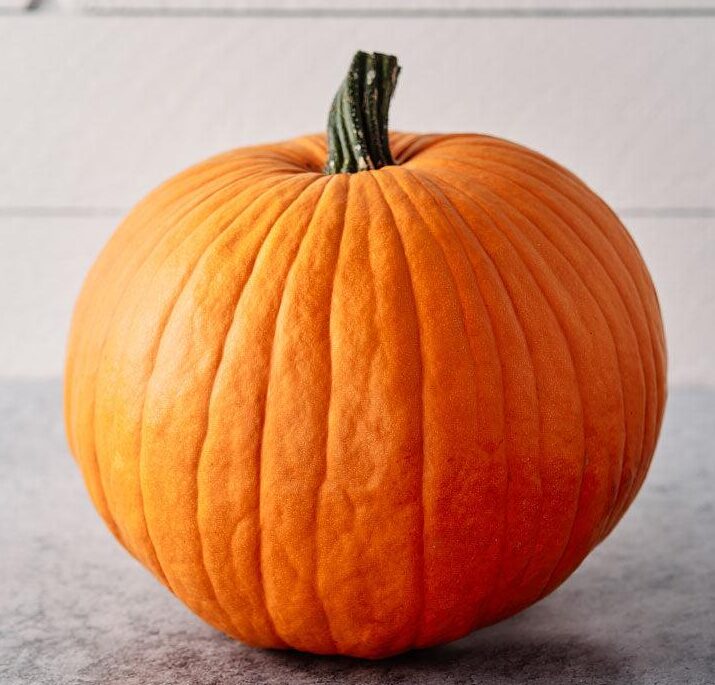
Wash and dry the outside of the pumpkin. Place it on a stable work surface and check that it doesn’t wobble before you begin.
Step 2: Remove the seeds and pulp
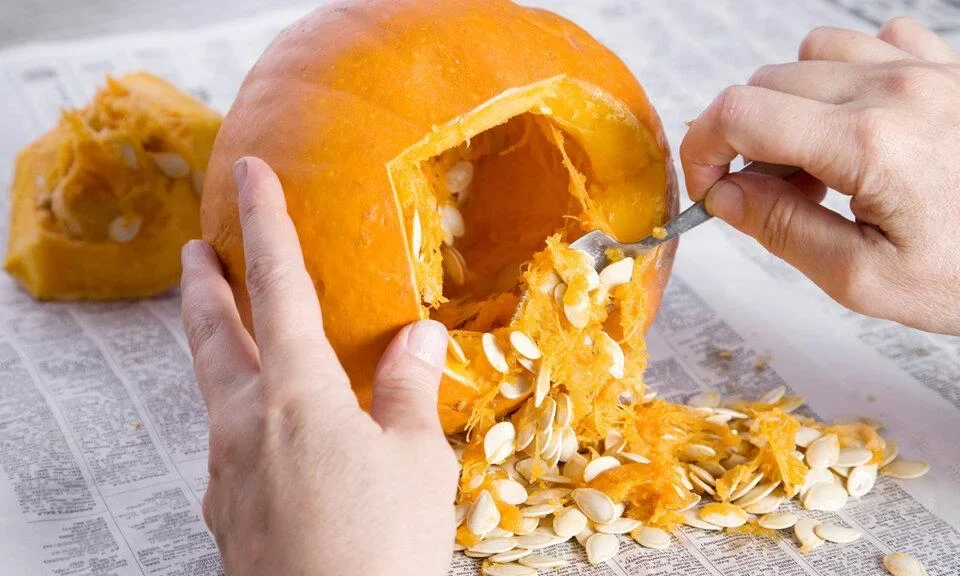
An adult should make the opening and scoop out the seeds and stringy pulp. Scrape the inside wall only as much as needed for your chosen design.
Step 3: Transfer your pattern
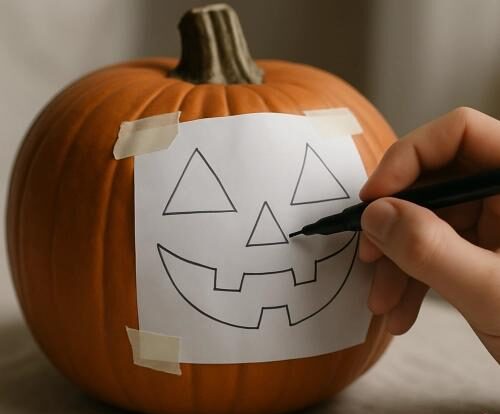
Draw the design directly onto the pumpkin or secure a paper template to the surface. Check that the whole pattern fits before making any cuts.
Step 4: Carve the design
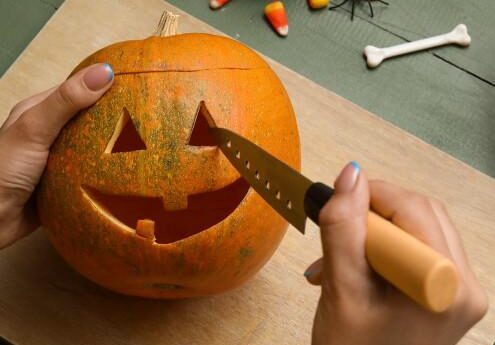
Use an appropriate pumpkin-carving tool and make controlled cuts. Work carefully around curves, and never force the blade through a stubborn section.
Step 5: Add lighting and display your pumpkin
Remove any loose pieces and check that the openings are clear. Place a battery-operated light securely inside, then set your finished pumpkin on a stable surface.
Tips for cleaner pumpkin carvings
A few simple habits can help your design turn out better.
- Keep the shapes bold. Thick lines and broad openings are easier to carve and less likely to break.
- Work carefully around small details. Removing smaller sections before larger ones can help preserve delicate parts of a pattern.
- Leave sturdy bridges. Avoid cutting narrow strips between openings.
- Use a template when needed. Templates can make symmetrical designs and repeating patterns easier to follow.
- Take your time. If a section starts to split, stop rather than forcing the tool through it.
Conclusion: Find Your Favorite Halloween Pumpkin Carving Ideas
The best Halloween pumpkin carving ideas are the ones that match your style, skill level, and Halloween plans.
Whether you choose a simple smiling face, a cute cat, a funny expression, a spooky monster, or a creative patterned design, you can turn an ordinary pumpkin into a festive decoration with a little imagination.
If you are new to carving, start with an easy design and work slowly. For something more personal, experiment with different facial expressions, shapes, or patterns to create a pumpkin that stands out on your porch, doorstep, or Halloween party table.
Remember to use appropriate carving tools safely and choose a battery-operated LED light for a warm, spooky glow.
Pick your favorite design from these Halloween pumpkin carving ideas, gather your supplies, and enjoy creating a decoration that makes your Halloween feel extra special.
Frequently Asked Questions
What are the easiest Halloween pumpkin carving ideas?
A classic jack-o’-lantern face, a surprised expression, a crescent moon, and a dotted pattern are good starting points. They use broad shapes and require fewer delicate cuts than detailed portraits or intricate webs.
How do I choose a pumpkin for carving?
Look for a firm pumpkin with an intact stem, no soft spots or major bruises, and a stable base. Choose the shape based on the design: round pumpkins suit faces, while wide pumpkins provide more space for landscapes and silhouettes.
What are some cute pumpkin carving ideas for kids?
Cute cats, friendly ghosts, heart eyes, sleepy faces, and simple smiling pumpkins are good family-project ideas. Adults should handle all cutting, while children can help draw patterns, scoop pulp, or choose the design under supervision.
How can I make my carved pumpkin glow more brightly?
Use a clean, hollowed pumpkin and make sure the main openings are large enough for light to pass through. A battery-operated light placed securely inside is a practical option. Shallow etched details can create additional variations in brightness, depending on the pumpkin’s thickness and the light source.